


How to Crochet a Pencil Case – Free Crochet Pattern

Learn how to crochet a pencil case with this free beginner-friendly crochet pattern using simple stitches and 4 weight yarn. This easy crochet pencil case pattern is perfect for using stash yarn and can also be used as a makeup bag, notions pouch, hook case, or small project organizer.
If you’ve been looking for a crochet pencil case that’s fun to make, practical to use, and perfect for using up those part-used skeins hiding in your stash, you’re in the right place!
This free crochet pencil case pattern is one of my older designs that somehow never made it onto the blog. While looking through my pattern collection recently I realised this little project had been hiding away all this time… and that simply wouldn’t do! It deserved its moment in the sunshine, so here it is as a completely free pattern.
Whether you’re making it for school supplies, crochet hooks, stitch markers, makeup, colouring pencils, or all those little bits and pieces that somehow end up at the bottom of every project bag, this easy pouch is both useful and enjoyable to crochet.
Why You’ll Love This Crochet Pencil Case
- Beginner-friendly pattern using mostly single crochet stitches
- Great introduction to simple shaping with single crochet decreases
- Perfect stash-busting project
- Uses affordable 4 weight (worsted/aran) yarn
- Customise the colours to suit any personality
- Makes a thoughtful handmade gift
- Can be lined for extra durability
- Add a zipper for a polished finish
- Quick enough to finish over a weekend


The Story Behind This Design
Back in 2019 thoughts turned to back-to-school crochet projects – something practical, a little different, and something that would make people smile.
Then the idea arrived almost fully formed…
A crochet crayon!
Surprisingly, a quick search on Pinterest revealed that there was nothing quite like the colourful crayon-shaped pencil case in mind.
So I did what many designers do—I grabbed some yarn and started crocheting.
The funny part? The design almost seemed to crochet itself! The notebook, however, was another story entirely.
Thankfully, after a little detective work (and perhaps a few cups of tea), I managed to turn those scribbles into the pattern you’re reading today!
One of my favourite features is how using two shades of the same colour really brings the crayon look to life. Add the black stripes and suddenly everyone immediately knows exactly what it’s meant to be.
Of course, you don’t have to make yours look like a crayon at all.
Choose your favourite colours, use rainbow stripes, make it seasonal, coordinate it with your crochet bag, or use whatever odds and ends you already have sitting in your stash. That’s part of the fun.
Construction of the Design
This crochet pencil case is worked flat using simple rows and creating two individual sides before being seamed together.
The shaping is created with easy short rows and beginner-friendly decreases, making it an excellent project if you’d like to become more confident with single crochet two together (sc2tog) without tackling a large project.
It’s written using 4 weight worsted/aran yarn, making it ideal for stash diving or using those half-used skeins you’ve been saving “just in case.”
Feel free to change colours wherever you’d like.
Keep the original crayon-inspired look, create colour-block sections, use self-striping yarn, or make every stripe different. There really isn’t a wrong way to personalise this project.
Because crochet fabric naturally has small gaps, I designed this pouch to work beautifully with an optional fabric or felt lining and a zipper. While neither is absolutely essential, both help keep smaller items safely tucked inside and give the finished project a wonderfully professional feel.
Purchase the Printable PDF
If you’d prefer an ad-free, printable version of this pattern, you can find the PDF in all of my shops. The PDF Pattern for the Crayon Pencil Case contains a step by step photo tutorial on how to line your bag and add a zipper if you have never done this before.



The printable PDF is perfect if you like to crochet away from your computer or save patterns in a binder.
Pattern Specifics
Skill Level
Beginner
Finished Size
One size. Finished dimensions approximately 5’’ tall x 10.5’’ wide after seaming.
Gauge
Gauge is not important for this project! As long as you are happy with your tension and how it is turning out then that is all that matters!
If you find that your gaps between stitches are a little bigger than you had hoped there are 3 things you can try (so I would recommend you swatch a little bit first).
- Try yarn under instead of yarn over. This is easy to do. Click the links below for the tutorial.
- Go down a hook size. Just remember if you do this your project might be slightly smaller than you expected so keep an eye on the sizing.
- The other alternative is to use a 5 weight yarn with the 5mm hook but your project may be a bulkier than expected.


Yarn
Approximately 200 yards of 4 weight (worsted/aran) yarn
Suggested fibres:
- Acrylic
- Cotton
- Cotton blends
If you are not sure which yarn to use, check out my post – Cotton Vs Acrylic Yarn: Which One Should You Use?.
You’ll need:
- Main Colour (light shade)
- Contrast Colour (medium shade)
- Black (or another dark colour) for the stripes
This is a fantastic stash-busting project, so don’t be afraid to mix yarn brands.
Materials
- 5 mm (H/8) crochet hook
- Yarn needle
- Scissors
- Stitch markers (optional)
- Craft felt or fabric (optional)
- Zipper
- Sewing needle and thread
Abbreviations
- Ch – Chain
- SC – Single Crochet
- Sc2tog – Single Crochet Two Together
- St(s) – Stitch(es)
- Sk – Skip
- BLO – Back Loop Only
- SS – Slip Stitch
- Rep – Repeat
- FO – Fasten Off
- * to * – repeat instructions between the *
Need help with Sc2tog?
Sc2tog:
Insert hook into indicated stitch, YO and pull through (2 loops on hook), insert hook into next st, YO and pull through (3 loops on hook), YO and pull through all 3 loops on hook.
I have both right and left handed video tutorials for this stitch. Click the image below :


Pattern Notes
- Read the pattern before beginning.
- Turning chain does not count as a stitch unless stated.
- Colour changes are entirely optional.
- The pouch is worked flat and we make 2 panels before being seamed.
- A fabric or felt lining is recommended if storing small items.
- The zipper can be hand sewn or machine sewn into place.
- Stitch counts are given at the end of each row where necessary.
Free Crochet Pencil Case Pattern
This is a free pattern on the Sunflower Cottage Crochet blog. If you are reading this anywhere else it is stolen content. Please do not copy and paste any part of it or print this pattern out. Please bookmark this page and use the website to work up your pattern. This helps my small business greatly as it provides a little bit of ad revenue which will in turn will allow me to continue to create free content for you!
Make 2:
In colour A:
Ch 22
Row 1: Sc in second ch from hook and each stitch across
Rows 2-5: ch1, turn, repeat row 1
Rows 6 – 9: In colour B: ch1, turn, sc in each st across (21 stitches)
Rows 10-11: In Colour C: ch1, turn, sc in each st across (21 stitches)
Rows 11 and 12: In Colour B: ch1, turn, sc in each st across (21 stitches)
Rows 13 and 14: In Colour C: ch1, turn, sc in each st across (21 stitches)
Rows 15 -26: In Colour B: ch1, turn, sc in each st across (21 stitches)
Rows 27-28: In colour C: ch1, turn, sc in each st across (21 stitches)
Rows 29-30: In Colour B: ch1, turn, sc in each st across (21 stitches)
Rows 30 and 31: In Colour C: ch1, turn, sc in each st across (21 stitches)
Rows 32-34: In Colour B: ch1, turn, sc in each st across (21 stitches)
In Colour A:
Row 35: ch1, turn, sc in each st across (21 stitches)
Row 36: ch1, turn, in BLO sc in each st across (21 stitches)
Row 37: ch1, turn, sc2tog, sc across until 2 sts remain, sc2tog
Rows 38-47: repeat row 37 until only 3 stitches remain
FO, weave in ends
In Colour C:
Sc in each st around the edges of your crayon ensuring that you do 2sc in each corner to keep the shape.
Place your two side wrong side together and sc around or stitch together leaving a gap for your zip along one of the long sides.
Lining:
Line if desired and add your zip. There are lots of YouTube tutorials on how to do this if you have not done so before.
More Patterns and Posts You May Enjoy
If you enjoyed making this crochet pencil case, you might also like:
- Free Summer themed crochet colouring pages
- Isobel Ear Warmer – free pattern that also has step by step videos for both right and left handed crocheters.
- How to Plan Scrap Yarn Projects Without Losing Your Mind
- Misty Days Blanket – a free and easy pattern in 9 sizes!
- Ellis Washcloth – a gorgeous washcloth that will allow your to perfect the sc2tog stitch!
Share Your Finished Crochet Pencil Case!
I absolutely love seeing your finished projects and how you make each design your own.
Whether you’ve created a classic crayon, a rainbow version, a floral pouch, or something completely unique, I’d love to see it.
You can tag me on:
📷 Instagram: @sunflower.cottage.crochet.too
📘 Facebook Page: Sunflower Cottage Crochet
💛 Facebook Group: Sunflower Cottage Crochet Community
If you share your project on social media, don’t forget to tag me so I can admire your beautiful work (and maybe even feature it!).
Thank you so much for supporting Sunflower Cottage Crochet and allowing me to keep bringing more free crochet patterns to the blog.
Happy crocheting!
Helen x
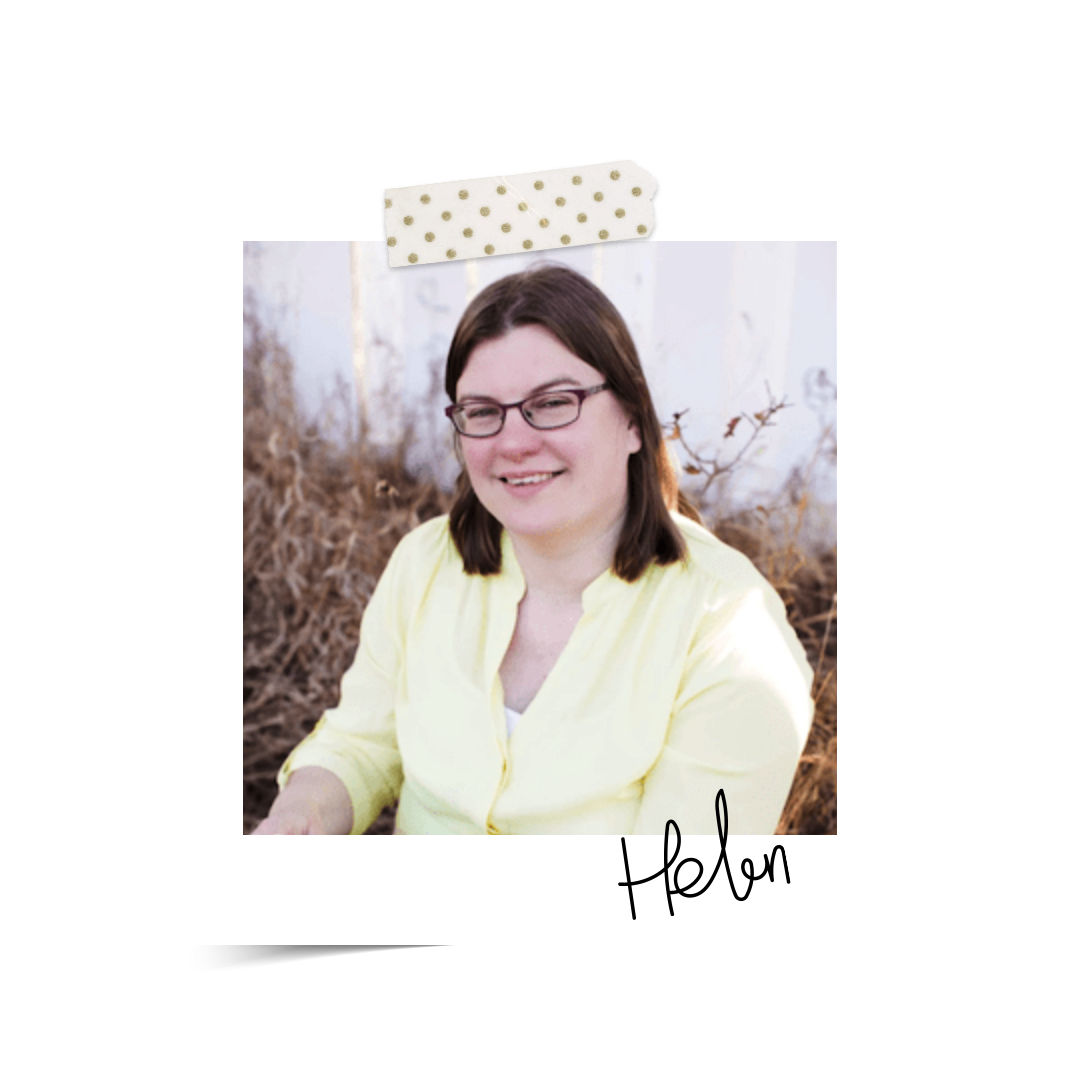
Hi! I’m Helen
I live on the north-east coast of England, UK. I am a mum and wife and enjoy reading and quilting. I started crocheting at 14 years old.
Sunflower Cottage Crochet is dedicated to empowering crocheters of all levels. I provide modern, easy-to-follow crochet patterns and video tutorials that make learning new techniques simple and accessible. My mission is to empower crocheters in their creativity, enabling them to confidently create beautiful projects no matter where they’re at in their journey. Whether it's a beginner seeking out the basics or an experienced enthusiast looking to level up their skills. My vision is for every user to experience the joy of mastering creative expression through crochet!


