


Free Crochet Bookmark Pattern with Cables – A Quick Gift Idea for Bookworms

A quick and easy crochet bookmark pattern that is perfect for learning beginner-friendly crochet cables without the overwhelm!
This free crochet bookmark pattern works up quickly, makes a thoughtful handmade gift for bookworms, and includes full video tutorials for both left and right handed crocheters.
There’s something oddly satisfying about combining crochet and books. Add a cosy blanket, a cup of tea, and suddenly you’ve accidentally ignored your responsibilities for three hours. Oops.
This Free Crochet Bookmark Pattern with Cables was designed to be a fun and approachable way to dip your toes into crochet cable techniques without feeling intimidated by complicated stitch work or endless back post stitches. If you’ve been wanting to try crochet cables but weren’t sure where to start, this pattern is for you!
The Treasure Trails Bookmark is actually part of a little collection I wanted to create after designing the original Cabled Bookmark a couple of months ago. I knew almost immediately that I wanted to create a small set of bookmarks that focused on easy cable techniques in different ways before eventually popping the complete collection into my shops as a PDF bundle.
And honestly? I may have gotten a little carried away because cable stitches are ridiculously fun once they click.
I named this bookmark Treasure Trails because the cables running through the centre reminded me of little diamonds scattered along a winding path. It has a lovely textured finish that looks far more complicated than it actually is. The best kind of crochet sorcery.


One of my favourite things about this design is that there are no back post stitches to worry about. The focus is mainly on front post stitches, and once you have your setup rows completed you will probably find the cable sections much easier to work than you expected. After row 3, the pattern starts to settle into a rhythm and becomes much more relaxing to crochet.
And don’t panic if cables are completely new to you — I’ve included full step-by-step video tutorials to help you through the entire process!
The Inspiration Behind the Treasure Trails Bookmark
When I released the first Cabled Bookmark Pattern, I already had plans bubbling away for more designs. I loved how approachable the technique became when scaled down into a smaller project, and bookmarks felt like the perfect way to help crocheters build confidence with crochet cables.
Large cable projects can sometimes feel overwhelming when you are first learning stitch placement and anatomy. But a small project like a bookmark? Much less scary. Less commitment. Less yarn. Lower chance of dramatically throwing your hook across the room.
The Treasure Trails Bookmark is the second free cabled bookmark pattern in the collection, and it continues that same beginner-friendly approach. I wanted this design to feel elegant and textured while still being achievable for confident beginners who already understand basic stitches and stitch anatomy.
Because the pattern works up quickly, it also makes a brilliant handmade gift idea for readers, teachers, students, journal lovers, and fellow yarn-loving bookworms. Pair it with a good book and suddenly you look incredibly organised and thoughtful.
The complete collection of 3 crochet bookmark patterns is now available in my shops as a paid PDF bundle too, which makes it super handy if you want all the patterns in one easy download.


Construction of the Design
This crochet bookmark pattern is worked flat in short rows, making it a relaxing and portable project you can easily pick up and put down throughout the day.
You can absolutely play around with colour changes if you would like to. The simple construction makes it easy to customise and experiment with different looks depending on your yarn choices. This pattern also makes it very easy to adjust the overall length of your bookmark to suit your preferences.
I also included options to:
- add a taper to the end
- add a tassel
- keep the edges straight and simple
The stitch pattern focuses mainly on front post stitches and uses an easy-to-remember 4 row repeat, with every other row being a lovely simple single crochet row to keep things manageable.
That balance makes this pattern ideal for crocheters who want to practise cable techniques without feeling overwhelmed.
Yarn Choices for This Crochet Bookmark Pattern
This is the perfect stash-busting project!
The bookmark is only 11 stitches wide, so you can absolutely raid your yarn stash for this one. I did!
Just be mindful that your yarn weight and hook size will affect the finished width and drape of your bookmark.
For my samples I used:
- 2 weight (4ply) yarn with a 3mm hook
- 3 weight (DK) yarn with a 4mm hook
I also found that pairing a 3 weight yarn with a 3mm hook creates a sturdier bookmark with beautiful stitch definition that really helps those cables pop.
Cotton yarns work beautifully for this project if you want crisp stitch definition, but acrylics and blends work wonderfully too.
Grab the Paid PDF Pattern
The paid PDF version includes:
- all 3 bookmark patterns in the collection in one gorgeous e-book
- easy-to-read formatting
- printer-friendly pages
- ad-free instructions
If you prefer an ad-free, printable version of these crochet bookmarks, you can grab the PDF e-book here:



Purchasing the PDF helps support my designs and allows me to keep creating free patterns for you.
Video Tutorials
I’ve created full step-by-step video tutorials to help you make the Treasure Trails Bookmark from start to finish.


Right Handed Tutorial: https://youtu.be/aF8K_zIQW9w
Left Handed Tutorial: https://youtu.be/nW1qHfJ36GI
If you are nervous about cables, definitely give the videos a watch. I walk you through the stitches slowly and clearly so you can crochet along with me.
Pattern Specifics
Gauge
Gauge is not critical for this project, but your yarn and hook choice will affect the finished size.
For reference using 2 weight (4 ply) yarn and 3mm hook my gauge was 15 single crochets and 15 rows in 2”
Finished Size
Approx:
- 7 inches long depending on repeats added
- Width varies depending on yarn and hook choice
Materials Needed
- Any 2 or 3 weight yarn of your choosing –
- Appropriate sized hook for yarn of choice (I used 3mm with 2 weight yarn)
- Scissors
- Tapestry Needle
- Stitch Markers optional
Abbreviations Used
- Ch(s) – chain(s)
- St(s) – stitch(es)
- Sk(d) – skip(ped)
- Rep – repeat
- Sc – single crochet
- Sc2tog – single crochet 2 together
- FPdc – front post double crochet
- FPdc-V St – front post double crochet V stitch
- FPdc2tog – front post double crochet 2 together
- YO – yarn over
- FO – fasten off
Pattern Notes
- Written in US terms.
- Ch1 start does not count as a st unless stated otherwise.
- Be sure not to work your cable stitches too tight as it will pull and warp your project!
- When working FPdc you will work into the stitch two rows below.
- Every even numbered row is an easy sc across row – there are no back post stitches to worry about.
- After Row 3 you will work FPdc sts only into FPDC sts from the row 2 rows below.
- When working a Front Post stitch this will count as a stitch against your current row. So for example, ‘SC in the first st, FPdc around next st’ – this FPdc counts as a st so you miss one stitch from the sc row immediately below before working the next sc.
- Odd numbered rows are right side rows, even numbered rows are wrong side rows.
Special Stitches
FPdc (Front Post double crochet) – yo, insert hook from front to back to front around post of st indicated, yo, pull up loop, [yo, pull through 2 loops] 2 times.
FPdc-V st (Front Post double crochet V stitch) – This stitch is worked over 3 sts. Sk first st, FPdc around next st, sc into same st, FPdc around same st. This counts as 3 sts in your overall stitch count for the row.
FPdc2tog (Front post double crochet 2 together) – this is also worked over 3 sts from the previous row. Yo, insert hook from front to back to front around post of indicated st, yo, pull up loop, yo, pull through 2 loops. Yo, insert hook from front to back to front around post of next fp stitch from 2 rows below, yo, pull up loop, yo, pull through 2 loops. Fiunally, yo and pull through all 3 loops on hook. This counts as one st.
Sc2tog (Single Crochet 2 together) – Insert hook into first st to be worked, YO and pull up a loop. Insert hook into the second st to be worked. YO and pull up a loop. YO and pull through all 3 loops on your hook.
Free Crochet Bookmark Pattern
This is a free pattern on the Sunflower Cottage Crochet blog. If you are reading this anywhere else it is stolen content. Please do not copy and paste any part of it or print this pattern out. Please bookmark this page and use the website to work up your pattern. This helps my small business greatly as it provides a little bit of ad revenue which will in turn will allow me to continue to create free content for you!
Row 1 : CH12, sc in 2nd ch from hook and each ch across.
Row 2: Ch1, turn, sc in first st and each st across. (11)
Row 3: Ch1, turn, sc in first st, fpdc around next st, sc in next st, FPdc around next st, sc in next st, FPdc2tog (placing your first part of the st in the st next to your previous FPdc, sk the next st and place the last part of the st around the next st). Sc in next st, FPdc around next st, sc in next st, FPdc around next st, sc in last st. (4 FPdc, 1 FPdc2tog, 6 sc)
Row 4: Rep row 2.
Row 5: (Note: on this row you will be working your FPdc sts around the FPdc sts from row 3)
Ch1, turn, sc in first st, FPdc around next st, sc in next st, FPdc around next st FPdc-V st around the FPdc2tog from row 3, FPdc around next st, sc in next st, FPdc around next st, sc in last st. (4 FPdc, 1 FPdc-V, 6 sc)
Row 6: Rep row 2.
Row 7: (Note: you will be working your FPdc sts around the FPdc sts from row 5)
Ch1, turn, sc in first st, fpdc around next st, sc in next st, FPdc around next st, sc in next st, FPdc2tog (remember to use only the fp sts from the fpdc-V st in row 5), sc in next st, FPdc around next st, sc in next st, FPdc around next st, sc in last st. (4 FPdc, 1 FPdc2tog, 6 sc)
Row 8: Rep row 2.
Row 9 on: Rep rows 5-8 until your bookmark is approximately 7” tall / as tall as requires. For my version I repeated 6.5 times.
If you would like to have a tapered end your bookmark will have to be 6.5” tall.
Optional Tapered end:
Row 1: Ch1, turn, Sc2tog across first 2 sts, sc in each of next 7 sts, sc2tog across last 2 sts. (2 sc2tog, 7 sc)
Row 2: Ch1, turn, Sc2tog across first 2 sts, sc in each of next 5 sts, sc2tog across last 2 sts. (2 sc2tog, 5 sc)
Row 3: Ch1, turn, Sc2tog across first 2 sts, sc in each of next 3 sts, sc2tog across last 2 sts. (2 sc2tog, 3 sc)
Row 4: Ch1, turn, Sc2tog across first 2 sts, sc in next st, sc2tog across last 2 sts. (2 sc2tog, 1 sc)
How to Create a Tassel:
- Cut 4 or more strands of yarn or cotton approx. 10-15cm long
- Fold in half and bring your hook from the back to the front on the stitch you want to attach your tassel to.
- Bring through the strands with your hook so that it creates a loop on the other side – do not pull all of the yarn through
- Pull ends of the yarn through the loop you have just created and pull tight.
- Repeat as desired and trim the ends so that they are the same length
You May Also Like…
If you enjoyed the cable details in this free crochet bookmark pattern — or if you’ve suddenly discovered that crochet cables are ridiculously addictive — then you may want to check out the free Adventure in Cables Blanket CAL. too!

The Adventure in Cables Blanket Crochet Along was designed alongside Kristine from Ambassador Crochet and was created to help crocheters build confidence with crochet cables one section at a time. Each part of the blanket introduces a different cable technique so you can gradually grow your skills while creating a gorgeous textured blanket along the way.
Why crocheters love this CAL:
- Beginner-friendly approach to crochet cables
- Step-by-step written instructions
- Video tutorials for every section
- Smaller sections that feel manageable
- Stunning texture throughout the entire blanket
This crochet along is ideal for crocheters who:
- Want to improve their cable skills
- Love richly textured crochet projects
- Enjoy learning new stitches step by step
- Have always wanted to make a statement crochet blanket
Think of this bookmark pattern as the perfect introduction to cables… and the Adventure in Cables Blanket as the next exciting step in your crochet journey.
Fair warning though — once you start crocheting cables, it becomes very difficult to stop adding them to absolutely everything. 😉🧶
I genuinely loved designing this little collection of crochet bookmark patterns and I hope this pattern helps make crochet cables feel much more approachable and achievable for you.
Small projects like this are such a fun way to learn new techniques without committing to a giant blanket or garment first. And if your first few cable rows feel a bit awkward — that’s completely normal. Crochet cables are one of those things that suddenly click and then you’ll wonder why they ever seemed intimidating in the first place.
If you make your own Treasure Trails Bookmark, I would absolutely love to see it!
You can tag me here:
- Facebook: Sunflower Cottage Crochet
- Instagram: @sunflower.cottage.crochet.too
And if you share your bookmark online, don’t forget to tag me so I can cheer you on and admire your beautiful stitches!
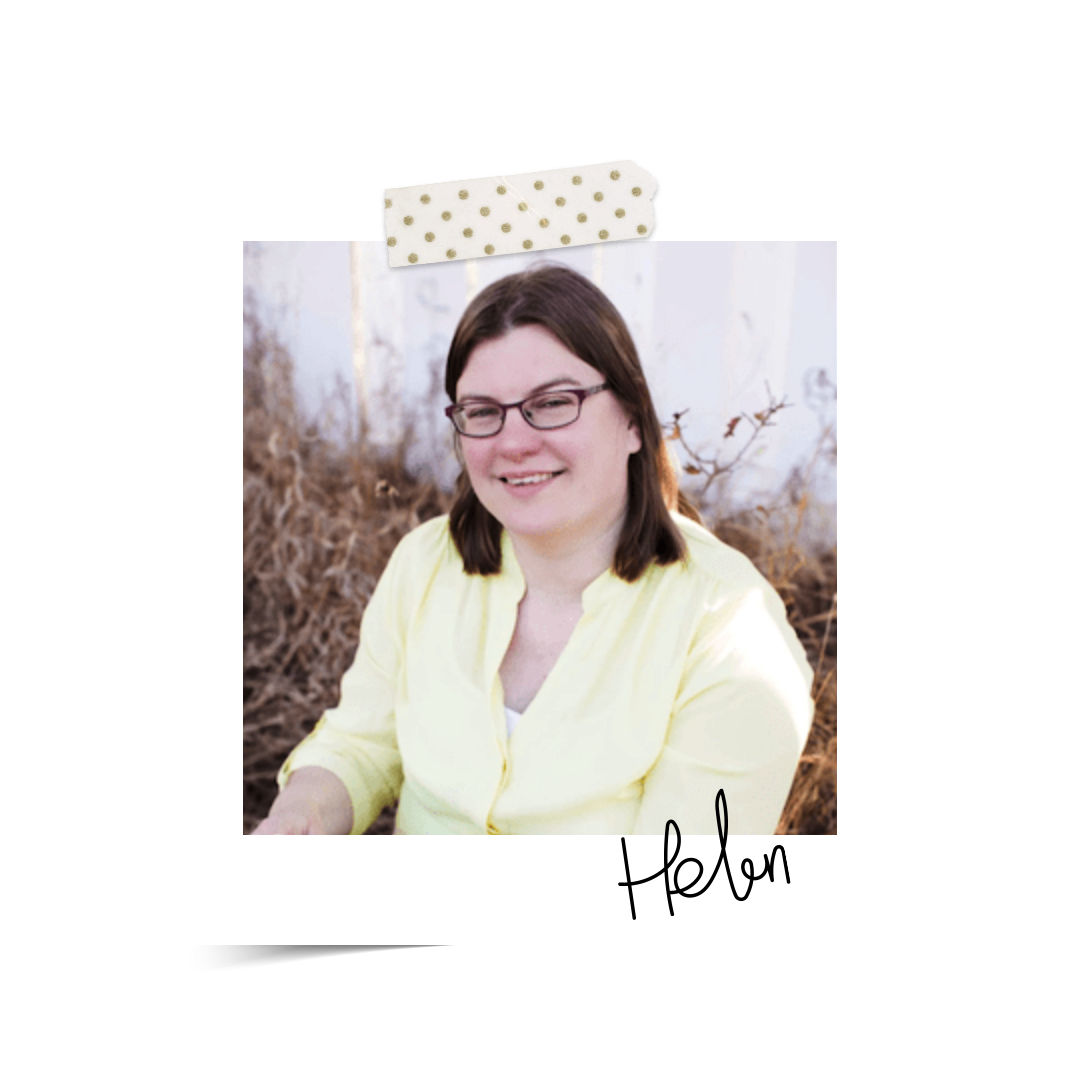
Hi! I’m Helen
I live on the north-east coast of England, UK. I am a mum and wife and enjoy reading and quilting. I started crocheting at 14 years old.
Sunflower Cottage Crochet is dedicated to empowering crocheters of all levels. I provide modern, easy-to-follow crochet patterns and video tutorials that make learning new techniques simple and accessible. My mission is to empower crocheters in their creativity, enabling them to confidently create beautiful projects no matter where they’re at in their journey. Whether it's a beginner seeking out the basics or an experienced enthusiast looking to level up their skills. My vision is for every user to experience the joy of mastering creative expression through crochet!


