


Free and Easy Crochet Blanket Pattern: Timeless Ellis Blanket Design

Introducing the Ellis Blanket, a timeless and beginner-friendly crochet pattern that combines texture and simplicity into a stunning design!
This easy crochet blanket pattern uses the single crochet two together (sc2tog) stitch, which I first used in the Tranquility Blanket CAL and then again in my free Ellis Washcloth crochet pattern. The result is a soft, squishy fabric that works perfectly for blankets of all sizes, from security to throw.
The sc2tog stitch creates a dense, gap-free texture, while working in the back loop adds subtle ridges for just the right amount of detail. This design is practical, stylish, and pairs beautifully with the matching Ellis Washcloth. Whether you’re looking for a quick project or a cozy addition to your home, the Ellis Blanket is a great choice for all skill levels.
Please note, this post may contain affiliate links – should you purchase anything using my affiliate link I may get a small commission at no extra cost to yourself!
Inspiration Behind the Ellis Crochet Blanket Design
The inspiration for the Ellis Blanket came as soon as I started working with the texture created by the single crochet two together (sc2tog) stitch. I immediately knew this stitch would be perfect for a blanket, especially a timeless, unisex baby blanket. The dense, squishy texture not only looks stunning but also provides the perfect level of warmth and comfort for little ones or cozy moments on the couch.


Because the sc2tog is a smaller stitch, it does use a bit more yarn than some other stitch combinations. However, I believe the result is more than worth the extra time and yarn. The finished blanket has a beautiful weight and structure that feels luxurious and durable, making it a piece that can be treasured for years to come. Whether you’re making it as a gift or keeping it for yourself, the Ellis Blanket is a design I think you’ll love creating as much as I did.
Construction of this easy crochet blanket
The Ellis Blanket is worked in simple rows to create the main body of the blanket, allowing you to easily customize the height to your preference. Once the desired size is achieved, you’ll switch to working in rounds to add a clean and understated edging that frames the blanket beautifully. The edging is designed to complement the texture of the main stitches without overpowering them, giving the blanket a polished, finished look. This straightforward construction makes the Ellis Blanket a relaxing project, perfect for crocheters of all skill levels.
Yarn Recommendations
The Ellis Blanket is designed to work beautifully with #4 weight (aran) yarn, making it a versatile and easy crochet blanket pattern to create. For my version, I used Paintbox Simply Aran in the shade Paper White—a classic choice that highlights the blanket’s timeless texture. This 100% acrylic yarn is soft, durable, and budget-friendly, making it perfect for projects like this.
Of course, you can use any #4 weight yarn you have on hand. If you’re making this blanket as a gift for a baby, be mindful of the fiber content to ensure it’s soft and safe for sensitive skin. For guidance on selecting the best yarn for baby projects, be sure to check out my blog post The Ultimate Guide to Choosing the Best Yarns for Baby Projects. Whatever yarn you choose, the Ellis Blanket will be a cozy and beautiful addition to any home or nursery.
Get the PDF pattern!
You can find the ad-free PDF Pattern for this one in all of my shops:


Explore More Free Crochet Patterns in the Ellis Collection
If you love the gorgeous texture of this pattern, you will be pleased to know that it is part of my growing Ellis Crochet Collection!
The Ellis Collection brings together a range of practical, beautifully textured crochet patterns that use the same simple stitch combination to create a wonderfully squishy fabric. By using the single crochet two together (sc2tog) stitch in a slightly different way, we can create a texture that looks far more complicated than it actually is!
Whether you are crocheting for a premature baby, making gifts for family and friends, or adding handmade items to your charity donation box, there is something in this collection for you.
And the best part? All of these Ellis crochet patterns are free to view right here on the Sunflower Cottage Crochet blog!
Discover the Ellis Crochet Patterns
– Ellis Preemie Baby Mitts – 3 Sizes – These adorable little crochet mittens are designed especially for premature babies. Available in three preemie sizes, they feature adjustable wrist ties and are a lovely, quick project for using smaller amounts of DK yarn.
– Ellis Preemie Beanie – 4 Sizes – A beautifully textured crochet preemie hat pattern available in four sizes. These little hats coordinate perfectly with the Ellis Mitts and are ideal for making matching sets for tiny new arrivals or charity donations.
– Ellis Bonding Squares and Washcloth – Small but wonderfully useful, these textured crochet squares are available in two sizes. Make them as bonding squares for premature babies, where accepted, or use the larger version to create a practical cotton washcloth for your home.
– Ellis Beanie – 8 Family Sizes – Love the Ellis Preemie Beanie but need something a little bigger? This version includes eight sizes from newborn through to adult large, making it perfect for matching family hats, handmade gifts and charity crochet projects.
All of these designs share the same lovely texture, so you can mix and match patterns to create coordinating handmade sets.
Why not make a matching hat, mitts and blanket for a special little arrival? Or work up a selection of Ellis projects for your next charity donation?
Just remember to check the requirements of your chosen hospital or charity before making items for premature babies.
Special Stitches Used:
Special stitches:
SC2Tog: This is worked over 2 sts. Insert hook into first st, YO and pull through, insert hook into next st, YO and pull through. YO and pull through all 3 loops on hook.
You can find a photo tutorial for how to work this stitch on my Ellis washcloth post.
Back Loop Only:
You will be working the SC2Tog into the back loop only. Here is a reminder of how to identify the back loop. The front and the back loops will sit at the top of your work.
Back post:
To work a bpdc you work a dc, but instead of inserting your hook into the next stitch through the front and back loops, you insert your hook around the post of the stitch below from the back to the front and then out of the back again.
You can see this in my bpdc video
Right handed video tutorial – https://www.youtube.com/watch?v=hTPKAPQblkE
Front post:
To work a fpdc you work a dc, but instead of inserting your hook into the next stitch you insert your hook around the post of the stitch below from the front to the back and then out of the front again.
You can see this in my fpdc video
Right handed – https://www.youtube.com/watch?v=nmWe76Y4v08
Left handed – https://www.youtube.com/watch?v=biHxNSKo5Vw&t=2s
The pattern specifics:
Materials:
| #4 weight yarn of your choosing 5mm hook Scissors Tapestry needle Stitch Markers optional to mark first or last stitch of the row. Measuring Tape optional. |
Gauge:
| Does not matter as long as tension is consistent. My gauge was 18 sts and 13 rows of pattern per 4”. |
Sizing:
| Width (inches) | Height (inches) | Yardage (approx) | |
| Security | 14 | 17 | 460 yards |
| Baby Blanket | 30 | 35 | 700 yards |
| Receiving | 40 | 40 | 920 yards |
| Crib | 45 | 60 | 1200 yards |
| Throw | 52 | 60 | 1520 yards |
Abbreviations used:
| Ch(s) – chain(s). St(s) – stitch(es) SC- single crochet HDC – half double crochet SC2Tog – single crochet 2 together BLO – back loop only Sk – skip FPDC – front post double crochet BPDC – back post double crochet YO – yarn over FO – Fasten off |
Other notes:
| – Written in US terms – Chain 1 starts do not count as a stitch – Ch1 after the sc2tog st do count as stitches. – You do NOT sk1 after the ch1 following the sc2tog st. This maintains the st count. – Where the counts differ for each size within the pattern sizing will be indicated as security (baby, receiving, crib, throw) – The st count for each row of the main body of the blanket remains the same as for row 1 in all subsequent rows. It consists of 2 HDC plus 27 (56, 80, 93, 102) SC2Tog and (56, 80, 93, 102) Ch1’s. |
The Pattern:
** This is a free pattern on the SunflowerCottageCrochet.com blog. If you are reading this anywhere else it is stolen content. Please do not copy and paste any part of it or print this pattern out. Please bookmark this page and use the website to work up your pattern. This helps my small business greatly as it provides a little bit of ad revenue which will in turn will allow me to continue to create free content for you!**
Main Body
Row 1: Ch 55 (117, 163, 189, 207), sk first 2 chains (counts as a HDC), *SC2tog over next 2 sts, ch1* Rep from * to * across until you have 1 st remaining, HDC in last st. (54, 116, 162, 189, 206)
Note: remember you do NOT sk1 after the ch1 st. This maintains the st count as the sc2tog only counts as 1 st.
Row 2: Turn, Ch1, HDC in first st, *SC2tog over next 2 sts, ch1* Rep from * to * across until you have 1 st remaining, HDC in last st. (See stitch counts in pattern notes)
Rows 3 on: Rep row 2 until your blanket is 15 (31, 36, 55, 55)” tall. Turn.
Do not FO.
Border:
Round 1:
Note: Ensure you have an odd number of stitches on each of the 4 sides for this round.
Ch1, work 2 HDC in first st, HDC in each st across to the last st of the row. In the last st work [2HDC, CH2, 2HDC].
Turn your work 90 degrees so you are working down the side, and work HDC evenly down the side until you reach the final st of the side (I found 5 sts every 4 rows worked well for me. If you work too many, your edge will start to ruffle, too few and your edge will kink in on itself). In the last st work [2HDC, CH2, 2HDC].
Turn your work so you are now working along the bottom of your blanket. HDC in each st across to the last st of the row. In the last st work [2HDC, CH2, 2HDC].
Turn your work 90 degrees so you are working up the final side, and work HDC evenly up the side until you reach the final st of the side. In the last st work [2HDC, CH2,]. SS to first HDC to join.
For security size only move to round 3. For all other sizes work round 2.
Round 2: Rep round 1 but do not turn to start the round.
Round 3: Ch2, FPDC around 1st st, *BPDC around next st, FPDC around next st*, Rep from * to * until you reach the Ch2 corner space. [2HDC, CH2, 2HDC] in the corner ch2 space.
**FPDC around next st, *BPDC around next st, FPDC around next st*, Rep from * to * until you reach the Ch2 corner space. [2HDC, CH2, 2HDC] in the corner ch2 space. Rep from ** around.
Note: you will begin and end each side with a FPDC as you have an odd number of sts on each side.
Rounds 4 on: Repeat round 3 until your border is approximately 1 (2, 2, 2.5, 3)” wide (or as wide as desired).
FO and weave in ends.
This pattern featured in:
12 Days of Christmas Event 2024
The Ellis Blanket And The Preemie Crochet Challenge 2026
The Ellis Blanket featured as part of the 2026 Preemie Crochet Challenge!
This is my seventh year hosting the challenge, and every September designers come together to share crochet patterns suitable for premature babies while encouraging crocheters around the world to make items for donation.
You can find all of the patterns and information for this year’s challenge here:
Preemie Crochet Challenge 2026 – 30 Free Crochet Patterns for Preemie Babies
And if you would like to hear about future Sunflower Cottage Crochet events and challenges, you can join my email list here:
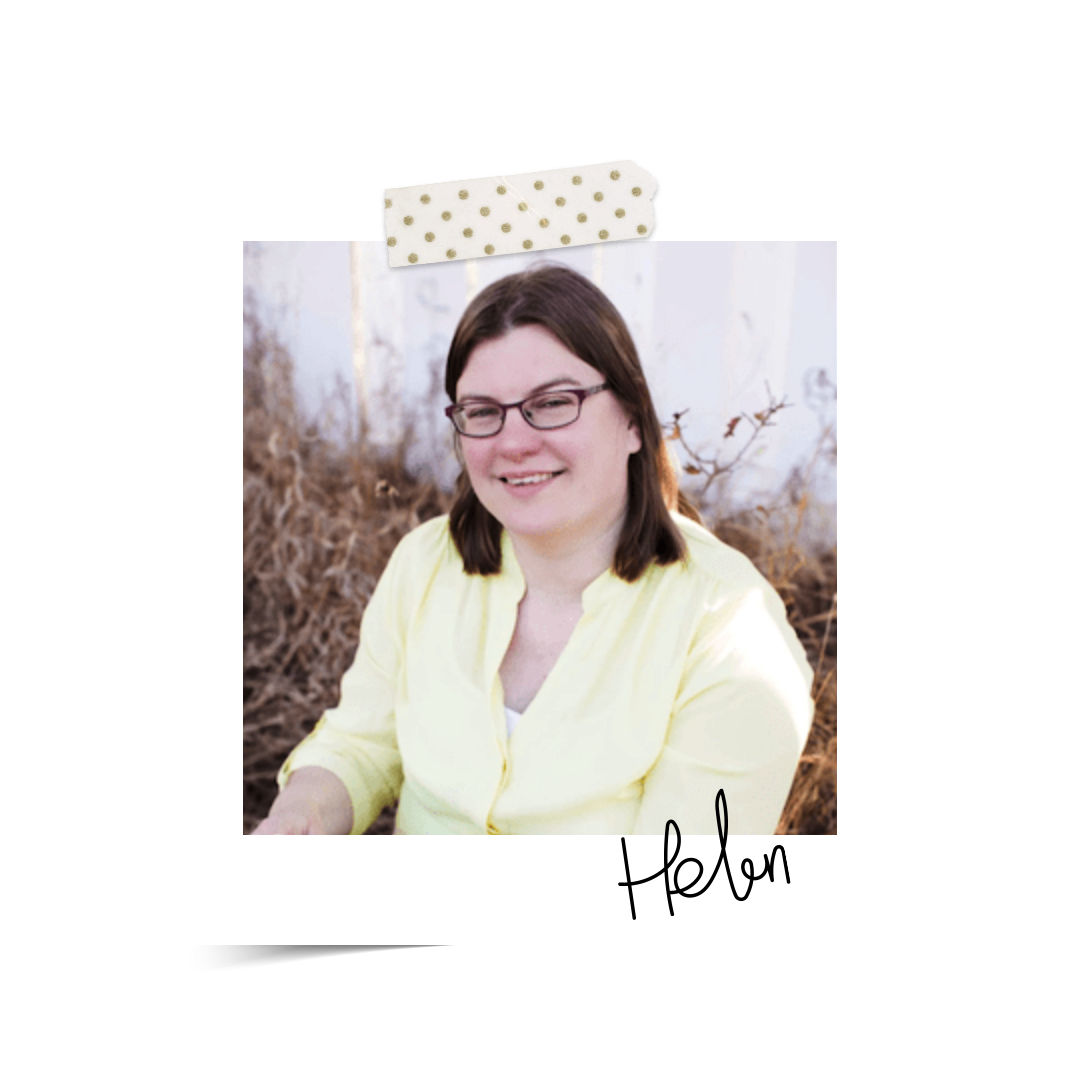
Hi! I’m Helen
I live on the north-east coast of England, UK. I am a mum and wife and enjoy reading and quilting. I started crocheting at 14 years old.
Sunflower Cottage Crochet is dedicated to empowering crocheters of all levels. I provide modern, easy-to-follow crochet patterns and video tutorials that make learning new techniques simple and accessible. My mission is to empower crocheters in their creativity, enabling them to confidently create beautiful projects no matter where they’re at in their journey. Whether it's a beginner seeking out the basics or an experienced enthusiast looking to level up their skills. My vision is for every user to experience the joy of mastering creative expression through crochet!


